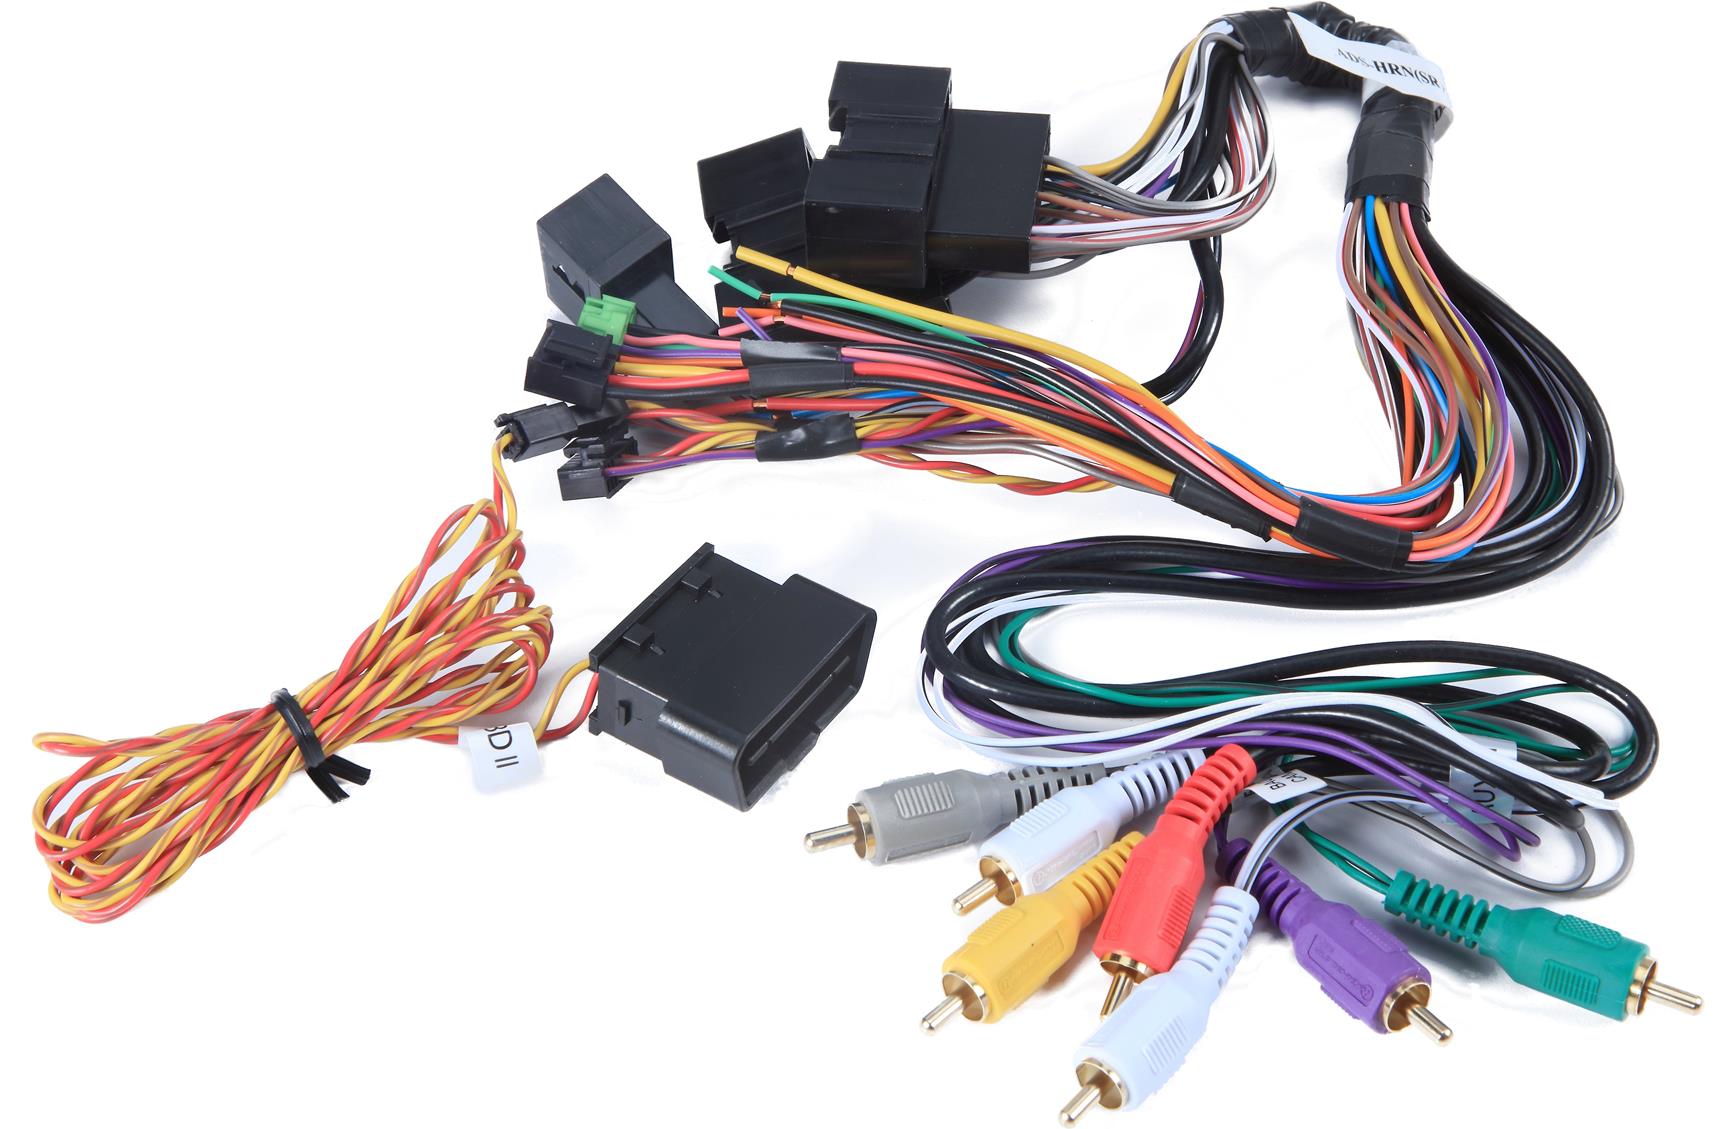
Step 5 access the obdii connector located under the driver side dashboard. Radio replacement t harness for select chrysler dodge and jeep vehicles 2007 and up.

Hooking Up Idatalink Maestro In A Chevy Van
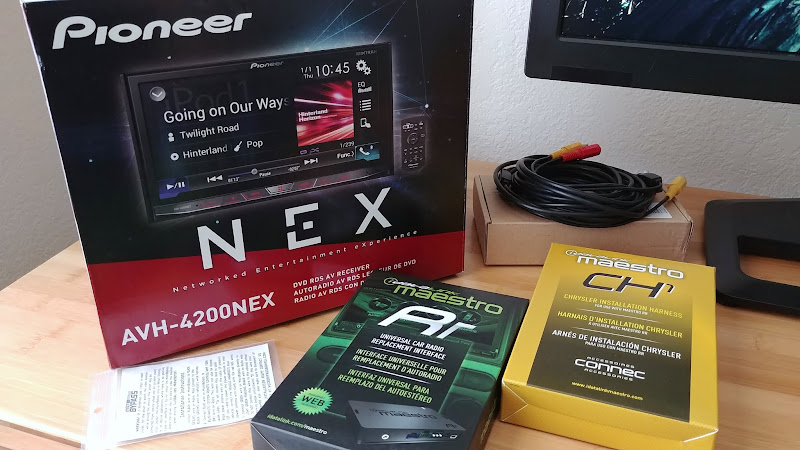
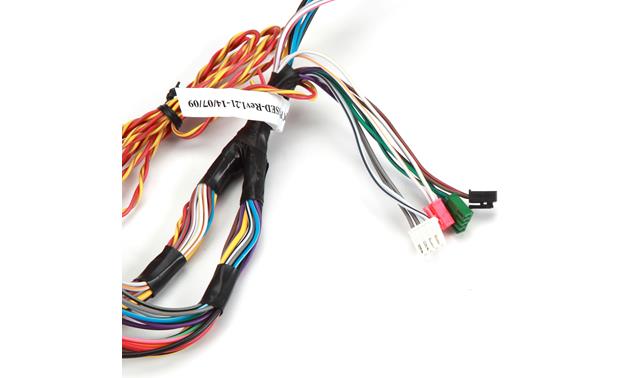
Maestro ch1 wiring diagram. For back up camera and rear seat entertainment the avch1 is also required. This step by step tutorial will guide you through the installation of the idatalink maestro chk1. Part hrn rr ch1. Wiring diagram step 1 step 2 step 3 step 4 step 5 step 6 maestro rr module white lf speaker whiteblack lf speaker gray rf speaker. Connect the redbrown wire of the ch1 t harness to the wire located at pin 6 of the obdii connector. Greatly simplifies the installation of the maestro rr module.
Idatalink maestro ch1 installation harness install guide chrysler 200 2011 2014 retains steering wheel controls and more. Idatalink maestro ch1 installation harness install guide chrysler 300 2008 2010 retains steering wheel controls uconnect uconnect bluetooth and more. Wiring diagram 5 vehicle wire reference chart 6 radio wire reference chart 7. Connect the factory harness to the ch1 t harness. See below for vehicle coverage details and model specific features. See the vehicle wire chart reference for wire colors connect the yellowbrown wire of the ch1 t harness.
This solution is compatible with the 2014 and up jeep chero. Idatalink maestro ch1 installation harness optional accessories click here for. Radar integration installation guide. Notice aomotiv d s i ads ec t l. Wiring diagram 5 vehicle wire reference chart 6 radio wire reference chart 7.
Gallery of Maestro Ch1 Wiring Diagram